 It’s been over 35 years since that first time. I still remember standing in awe, watching a talented pet groomer give a dog a haircut. She handled her clippers with ease. The long fur fell away like a hot knife through butter. The end result was smooth and gorgeous. And she was fast – super fast. She made the whole process seems so simple.
The first time I tried, I quickly discovered it was not simple. Those initial attempts were pretty pathetic. Saying my first efforts were rough and choppy would be polite. There were long tufts hanging out everywhere. I was frustrated beyond belief.
I was determined to master the skill. After all, the groomer I had been watching proved it could be done. It was simple – I just had to focus and figure it out.
Fast forward a few years of practice and a couple hundred dogs later, and I could make any dog look amazing. When I did a simple haircut on a pet, the fur fell away like a hot knife through butter. The end result was smooth and appealing. I could finish dogs in no time. I’d gotten very efficient with my clippers.
It took years of hard work. There were years of standing on my feet until they throbbed, working until my hands and shoulders ached. However, my pain can be your gain. Here are a few tips to enhance your speed when it comes to simple, low maintenance haircuts:
- Use the most powerful clipper you can afford and are comfortable holding. Duel speeds or variable speed clippers are great options.
- Work with the natural lay of the coat. You can work with or against the grain. If you reverse clip, the end result will leave that fur approximately two blade lengths shorter than working with the natural lay of the coat.
- For a large majority of low maintenance trims done with a #4F, #5F, or a #7F blade with the grain, you will go over the pet three times before it’s really smooth.
- The first time removes the bulk.
- The second time takes out the high spots.
- The third time erases what you missed.
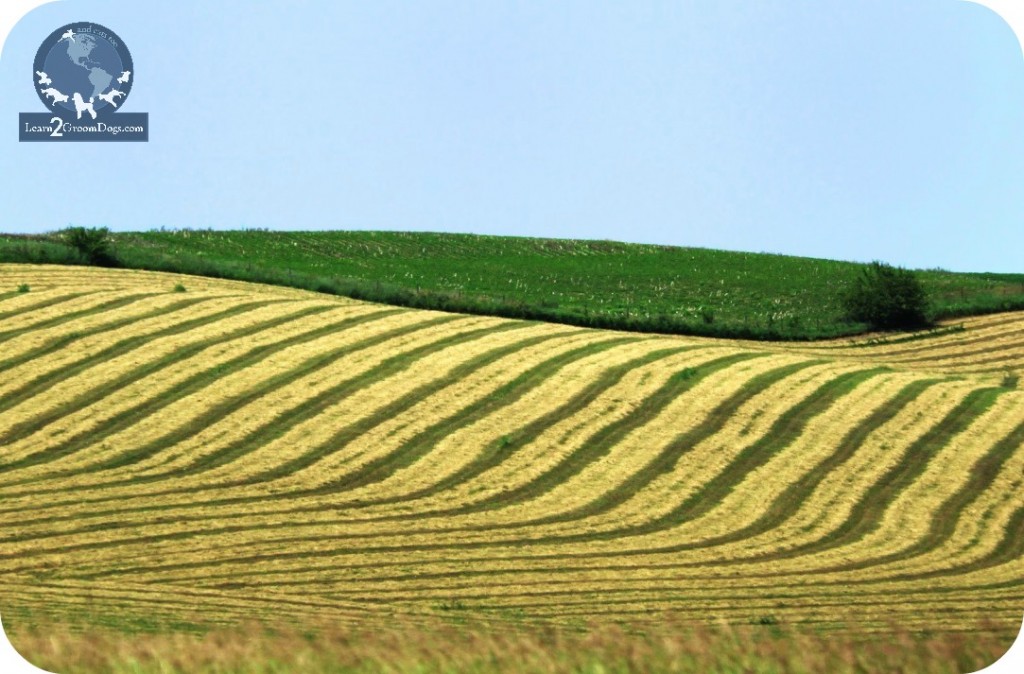
- The strokes are long and smooth. They overlap slightly. I often tell students to think about a hayfield. The farmer wants to be as efficient as possible – but he doesn’t want to miss anything, either. Most farmers work in nice, neat rows as they cut hay, slightly overlapping each row to ensure they don’t miss any portion of the field. Think about the dog’s body in the same manner. It’s a hayfield. Your clipper is the tractor. You want it done right… and you want to be done before the dinner bell rings.
- When clipping the legs, remember the actual contact of the cutting blade is minimal due to the shape of the surface. It’s round – like a pencil. Only a few teeth will make contact with the surface as you run the clipper down the leg. Thus, on legs you need multiple passes to get the same effect as three passes on the larger flat surface of the body. You can clearly see this relationship by simply running a blade down your own finger and looking at the blade’s point of contact.
- Back brush. Back brush. Back brush!
You’ll always get a smoother cut on a dog that is clean and the coat has been fluffed. Once you make the initial pass to remove the bulk of the long coat, it’s time to pick up the brush. Back brush the entire dog and go over it a second time. On the third pass, again gently back brush the entire area that needs final attention. Did you get that? Back brush!
When do you know you are done? You are done clipping when there is no more coat coming off the dog after it is been washed, dried, and effectively back brushed. Period.
Clipper work on a low maintenance haircut style can be extremely frustrating for new groomer. But once you master the clipper and understand how to work with the coat, it becomes second nature. It becomes simple. You become fast. And you will be able to perform the haircut safely with great precision. You can do it. It just takes focus.
Happy trimming!
~Melissa


